
 (314) 808-1744
How To Pack Dishes For Moving
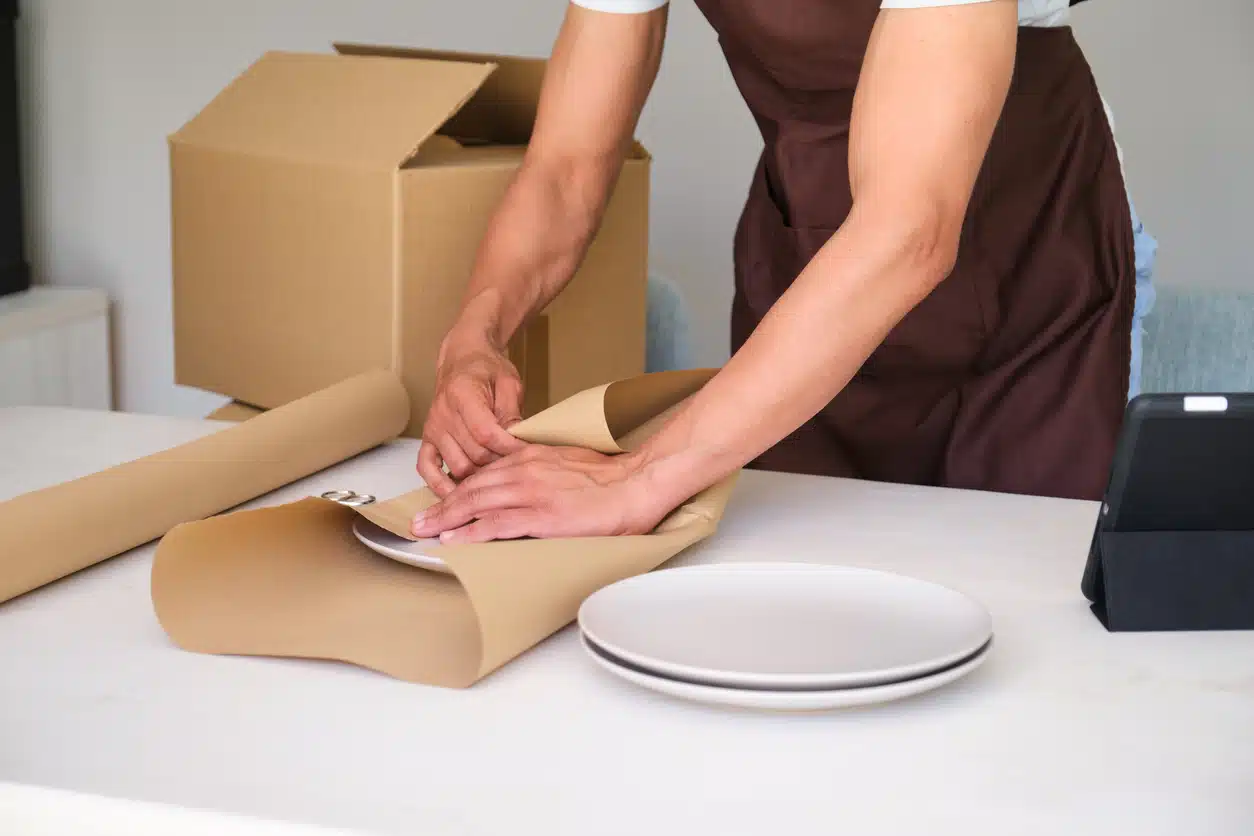
The clink of plates and glasses is the last thing you want to hear on a moving day in St. Louis, MO. From heirloom china to ceramic bowls, kitchenware is fragile, tricky to stack, and easily cracks unless you use the right materials and pack carefully. It’s not just about bubble wrap; how you cushion the box, wrap each piece, and load items upright can be the difference between a smooth move and a box of shards.
In this article, we’ll show you how to pack dishes for moving like a pro: what supplies to buy, the safest way to wrap plates, bowls, and stemware, how to build and label sturdy boxes, and the best loading techniques to prevent shifting. You’ll also learn effective techniques to pack dishes without using paper. Follow along for simple, step-by-step guidance that keeps your kitchen essentials safe.
The Best Way to Pack Dishes for Moving
Before you grab the tape and paper, make a plan. Below is the streamlined, step-by-step approach our crews rely on to move plates, bowls, and glassware from the cabinet to the new kitchen intact:
Choose the Right Box
Start with a dish pack, also called a double-walled box, because the thicker cardboard resists crushing and flexing during lifts, stair carries, and tight turns. Assemble it carefully using the H-tape method by sealing the center seam and edge seams on the bottom with two to three strips of quality packing tape. Aim to keep each finished box under 40 to 50 pounds so it remains easy to handle and less likely to split.
Build a Cushioned Base
Before any dish goes in, create a 2 to 3 inch shock-absorbing layer using tightly crumpled packing paper or foam sheets. This base spreads the impact from bumps, so the lowest layer does not bear the full weight of the box. Avoid loose peanuts because they shift and let items settle, which increases the risk of movement. If you prefer greener options, use clean towels or microfiber cloths as the base, then finish with a layer of paper for a smooth surface.
Wrap Plates Individually and Pack Them Vertically
Lay a plate on two or three sheets of packing paper, fold the corners toward the center until fully covered, and secure with a small piece of tape. For added protection, bundle plates in groups of three or four with another wrap around the stack. Place plates on edge, like records, rather than flat, so pressure is distributed along the rim instead of the center. Heavier plates should go toward the bottom layer, with lighter or delicate pieces higher up.
Nest Bowls With Padding Between Each
Wrap each bowl fully, then nest two or three bowls together with a full sheet of paper or a foam square between each to prevent pressure points. Wrap the nested set again so it feels like a single, cushioned unit. Pack nested bowls near the center of the box and keep them upright or at a slight angle so the rims do not bear direct weight. Fill any interior cavities with crumpled paper to stop shifting.
Protect Glasses and Stemware With Dividers
Stuff each glass with a half sheet of paper to support the walls, then wrap the outside until you cannot feel the rim. For stemware, wrap the stem first, then the bowl, and add an extra layer around the rim. Use a cardboard cell divider inside the box so each piece is isolated from its neighbors and cannot clink. Place the tallest and most delicate glasses on the top layer, and avoid stacking anything heavy above them.
Secure Mugs and Handled Items
Fill the hollow around each handle with crumpled paper, then wrap the entire mug so the handle is cushioned on all sides. If you do not have dividers, alternate handle directions, and add padding between mugs so they cannot twist and torque during transit. Keep heavier mugs on the lower layer and lighter ones above, always with separators between layers. Inspect each wrap job by lightly squeezing around the handle area to ensure no hard edges are exposed.
Layer With Flat Separators
After completing the first layer of dishes, add a flat separator such as a sheet of corrugated cardboard, foam board, or several compressed sheets of packing paper. Separators spread weight evenly and create a stable platform for the next layer. Repeat the process for each layer so no item directly presses against the one below. Finish with a final separator before adding top void fill to protect the uppermost items from the box flaps.
Eliminate Voids and Do a Shake Test
Fill all side gaps and the top void with tightly crumpled paper or foam so nothing can shift. When the box is full, close the flaps and gently shake it side to side to check for movement. If you feel items shifting or hear clinking, reopen the box and add more fill until everything is snug. Proper void fill prevents movement during transport, a common cause of chips and cracks.
Seal, Label, and Orient Correctly
Seal the top using the H-tape method and run an extra strip around the perimeter if the box feels heavy. Label at least two sides and the top with Kitchen, Dishes, and Fragile, and add arrows for This Side Up to preserve the vertical orientation of plates and glasses. Include the room destination and a brief contents note so these boxes are unloaded and unpacked first. Color-coded labels or tape can speed sorting on arrival.
Load Boxes Smartly on Moving Day
Place dish boxes on a flat, rigid surface in the truck or vehicle, never on top of soft items that can sag and crush them. Do not stack heavy boxes on top of dish packs, and avoid tall stacks that could tip during transit. Wedge or strap boxes so they cannot slide, keeping them low and centered for stability. If you are moving yourself, keep dish boxes near the truck door so they are among the first items unloaded.
How to Pack Dishes for Moving Without Paper
If you’re in a hurry to move to St. Louis and don’t have any paper to use for packing dishes, below is a no-paper approach to keep them protected:
What to Prepare:
1. Prep the Box and Base
Build boxes securely and line the bottom with a dense, 2 to 3 inch cushion of folded towels or layered cloths. This replaces the usual paper base and absorbs bumps, so the bottom layer doesn’t take the hit.
2. Plates (Pack Vertically)
Place a thin cloth or placemat between each plate, then roll or fold a towel tightly around the stack so the edges are well-padded. Use stretch wrap or two rubber bands to keep the bundle tight. Load plates on edge (like records), not flat, with a towel “bookend” on each side to prevent shifting. Heavier plates go lower; lighter and delicate pieces go higher.
3. Bowls (Nest With Soft Inserts)
Fill each bowl’s cavity with a rolled cloth or a sock, then stack two to three bowls with a thin towel or silicone mat between each. Wrap the nested set with a larger towel and secure it. Pack these near the center of the box, upright or on a slight angle, and use extra cloths around the rims to prevent pressure points.
4. Glasses and Stemware (Use Socks and Dividers)
Slip each glass into a clean sock or microfiber sleeve and add a small cloth inside the bowl for internal support. For stemware, wrap the stem first using a narrow strip of cloth or a silicone trivet, then cover the bowl with a sock or foam sleeve. Place upright in plastic cell dividers or reusable wine shippers. If you don’t have dividers, create snug “lanes” with rolled towels so rims never touch.
5. Mugs and Handled Items (Protect the Handle)
Wrap a small cloth around the handle, then cover the entire mug with a T-shirt or towel. Alternate handle directions in the box and place a soft item between each mug so they can’t torque against each other. Keep the heaviest mugs on the bottom layer.
6. Bakeware, Platters, and Lids (Flat Layers)
Separate flat items with placemats, silicone mats, or thin foam. For glass lids, pad the knob with a small cloth “donut,” then wrap the whole lid in a towel. Secure bundles with stretch wrap so nothing slides.
7. Fill Voids and Top Off
Use the remaining linens, oven mitts, aprons, and cloth napkins to fill the side gaps and the top void so the contents are snug. Close the box and do a gentle shake test; if you feel movement, add more soft fill until tight.
8. Seal, Label, and Load
Tape the box closed, label it Kitchen, Fragile, and This Side Up, and keep dish boxes upright on a firm, flat surface in the vehicle. Avoid stacking heavy boxes on top. Wedge or strap for zero movement in transit.
Make Packing Your Dishes Easier by Hiring Modern Moving Solutions Today!
If you’d prefer to skip the trial-and-error and know your plates, stemware, and heirloom pieces are packed the right way, bring in Modern Moving Solutions. Our St. Louis crews show up with dish packs, dividers, and the right cushioning, then wrap, label, and load so nothing shifts in transit. We can easily pack the dishes for moving, offer eco-friendly options on request, and even provide short-term storage if your move-in date is in flux.
Call us now to schedule professional packing that fits your timeline and budget.